Desk Setup · 4 min read
Measure your apartment desk before you buy another accessory
The five measurements that prevent returns — depth, edge thickness, chair clearance, power reach, and camera background — before you order arms, docks, or lamps.

This guide is a decision framework. Shortlist stays small so you can skip anything that fails desk depth, noise, or budget. How we research.
Affiliate links may appear for example gear. The checklist itself does not require a purchase.
Why measuring beats browsing
Most home-office returns start with a photo-based purchase: the listing shows a deep desk in a bright room; your surface is 20 inches deep against a wall outlet that barely reaches. Accessories fail the room, not the brand.
Spend fifteen minutes with a tape measure and a notes app before any Amazon cart. Write numbers in both inches and centimeters if you shop across regions — listing units switch without warning.
1. Usable depth and width
Measure the clear depth from the front edge to the wall, monitor, or window sill — not the marketing depth of the furniture. Subtract anything permanent: a thick sill, a radiator, a wall-mounted shelf.
Under 22 inches / 56 cm usable depth, prioritize monitor arms, laptop stands that free the base, and under-desk trays over freestanding risers with large footprints.
Width: leave at least 24 inches / 61 cm of clear walkway behind the pulled-out chair. A 60-inch desk that blocks the closet is a bad buy even if it fits the wall on paper.
2. Edge thickness and underside clearance
Clamp mounts for arms, lamps, and trays need a thickness range — commonly about 0.4–3.3 inches / 10–84 mm. Measure the front edge where the clamp will sit, including any bullnose that thickens the lip.
Look under the desk for crossbars, drawers, and metal frames. A tray that fits the photo may collide with a support rail two inches behind the lip.
Glass tops and hollow cores often fail clamps. If you cannot find a rated grommet path, plan for freestanding gear instead of forcing a clamp SKU.
3. Chair, knee, and sit-stand travel
Sit in your actual work chair and measure knee clearance to the underside. Drawers or keyboard trays that steal that space create daily pain even when the desktop looks tidy.
On standing desks, raise to full standing height and watch cable reach. Note how many inches / centimeters the desktop travels. Buy display and power cables with that travel plus a service loop — not the tidy minimum length.
If the desk wobbles when you type at standing height, fix the frame before loading a heavy dual-monitor arm on the edge.
4. Power, data, and camera background
Measure outlet distance to the planned power-strip location. Apartment outlets are often behind the desk or across a walkway — extension plans belong in the notes before the dock arrives.
For video calls, sit where you will work and check what the camera sees: kitchen traffic, a bed, a bright window. Placement changes beat buying a ring light to fight a bad background.
Noise path matters too. A desk facing an open hallway puts roommate doors in every recording. Rotate before you upgrade microphones.
A one-page checklist to save
Write these five lines before checkout: usable depth, edge thickness, underside obstacles, standing travel (or "fixed"), outlet reach, camera background note.
Any listing that omits a critical dimension for your constraint — clamp range, VESA, weight — loses by default. Spec silence is a skip signal, not a reason to "try it."
Use the retailer return window as a measurement verification week, not a shopping hobby. If day-three reality disagrees with the tape notes, return instead of buying a second accessory to compensate.
Examples that match the criteria
Optional examples that illustrate the criteria above — not a mandatory shopping list. Skip any pick that fails desk depth, budget, noise, or return logistics.
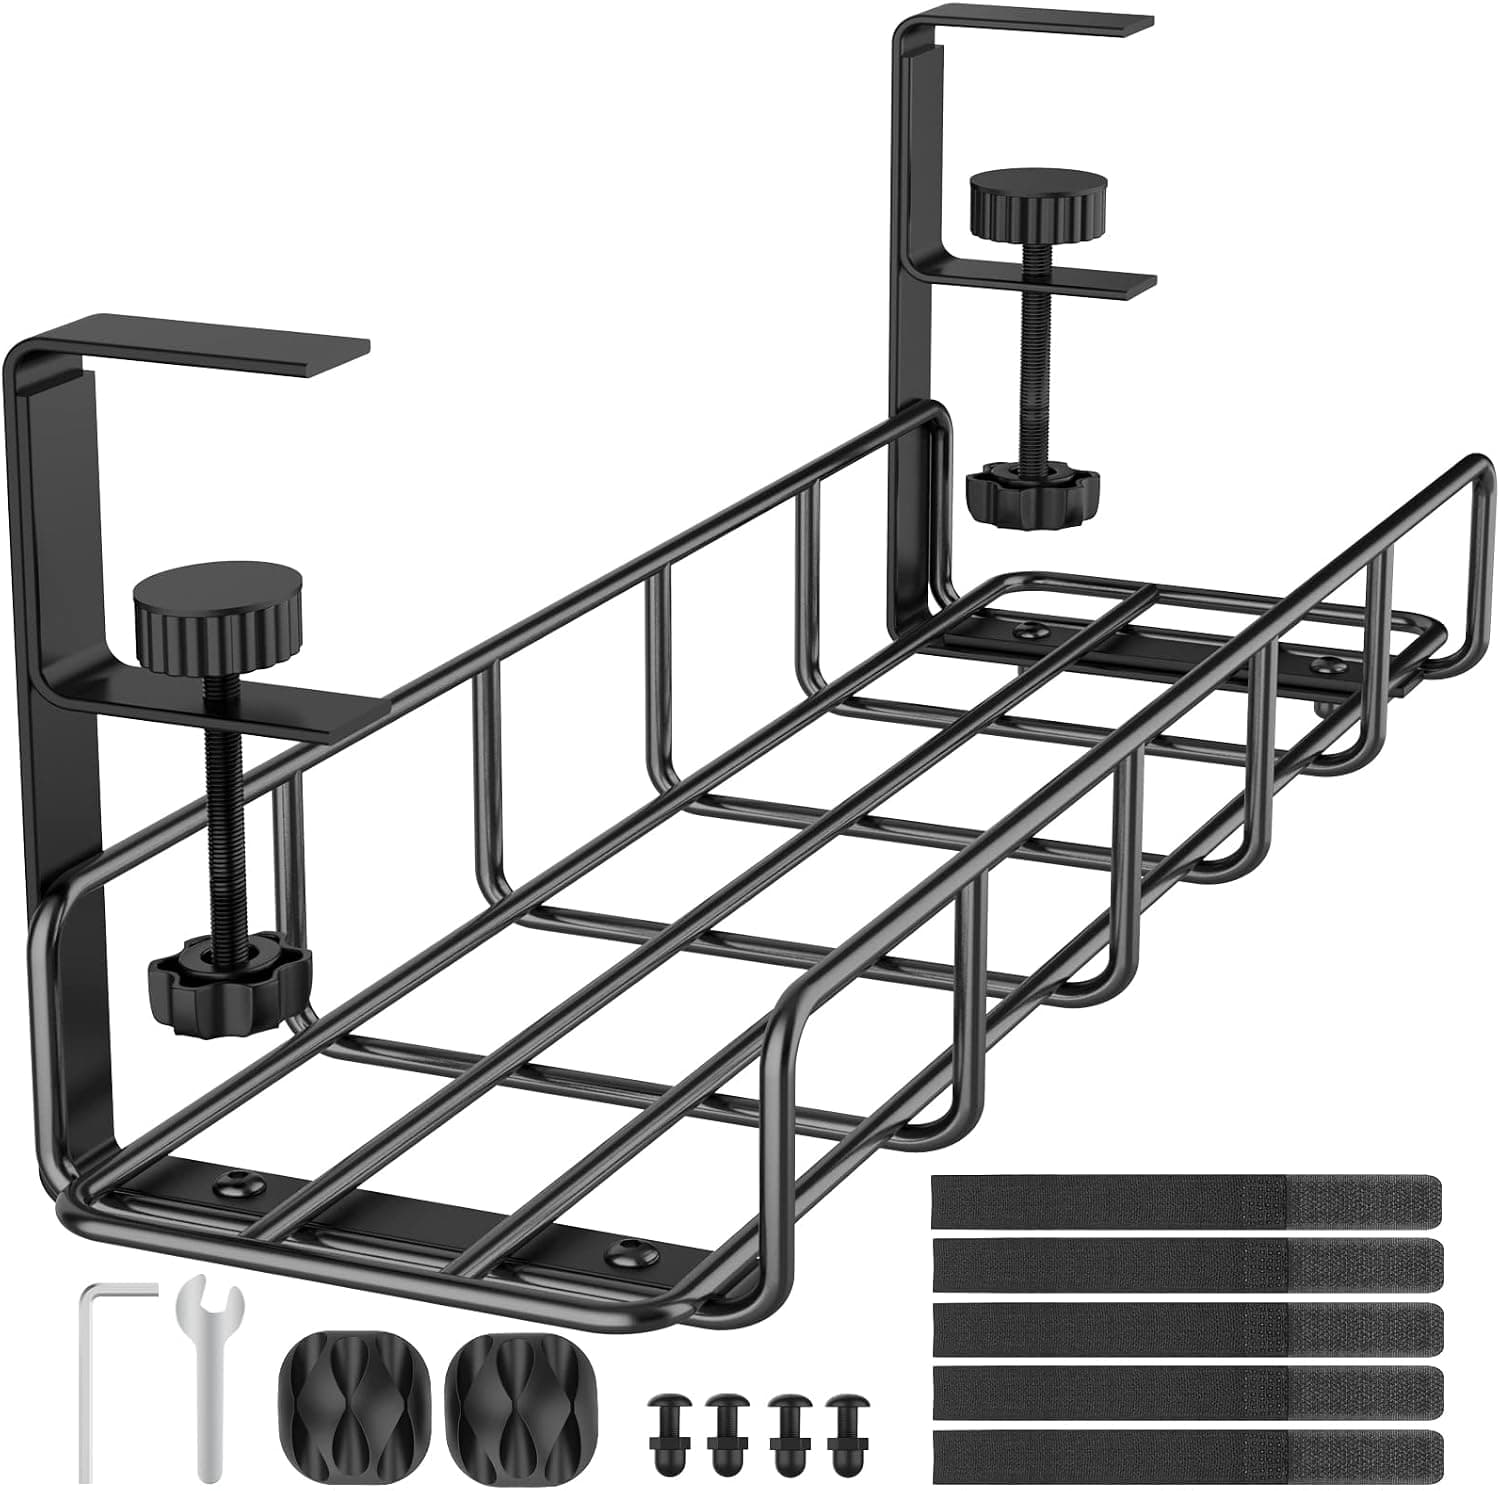 After you measure underside clearance
After you measure depth and sit-stand travel, a tray is often the first hardware that stays useful — but only if the desk underside accepts clamps or screws.
Best for: People who already confirmed underside clearance and power-strip length.
- +Moves bricks off the floor once dimensions are known
- +Works with many laminate tops when thickness is in range
- +Cheap relative to returning a wrong monitor arm
- −Fails on glass or ultra-thin tops without another mount plan
- −Wrong length tray sags — measure the strip first
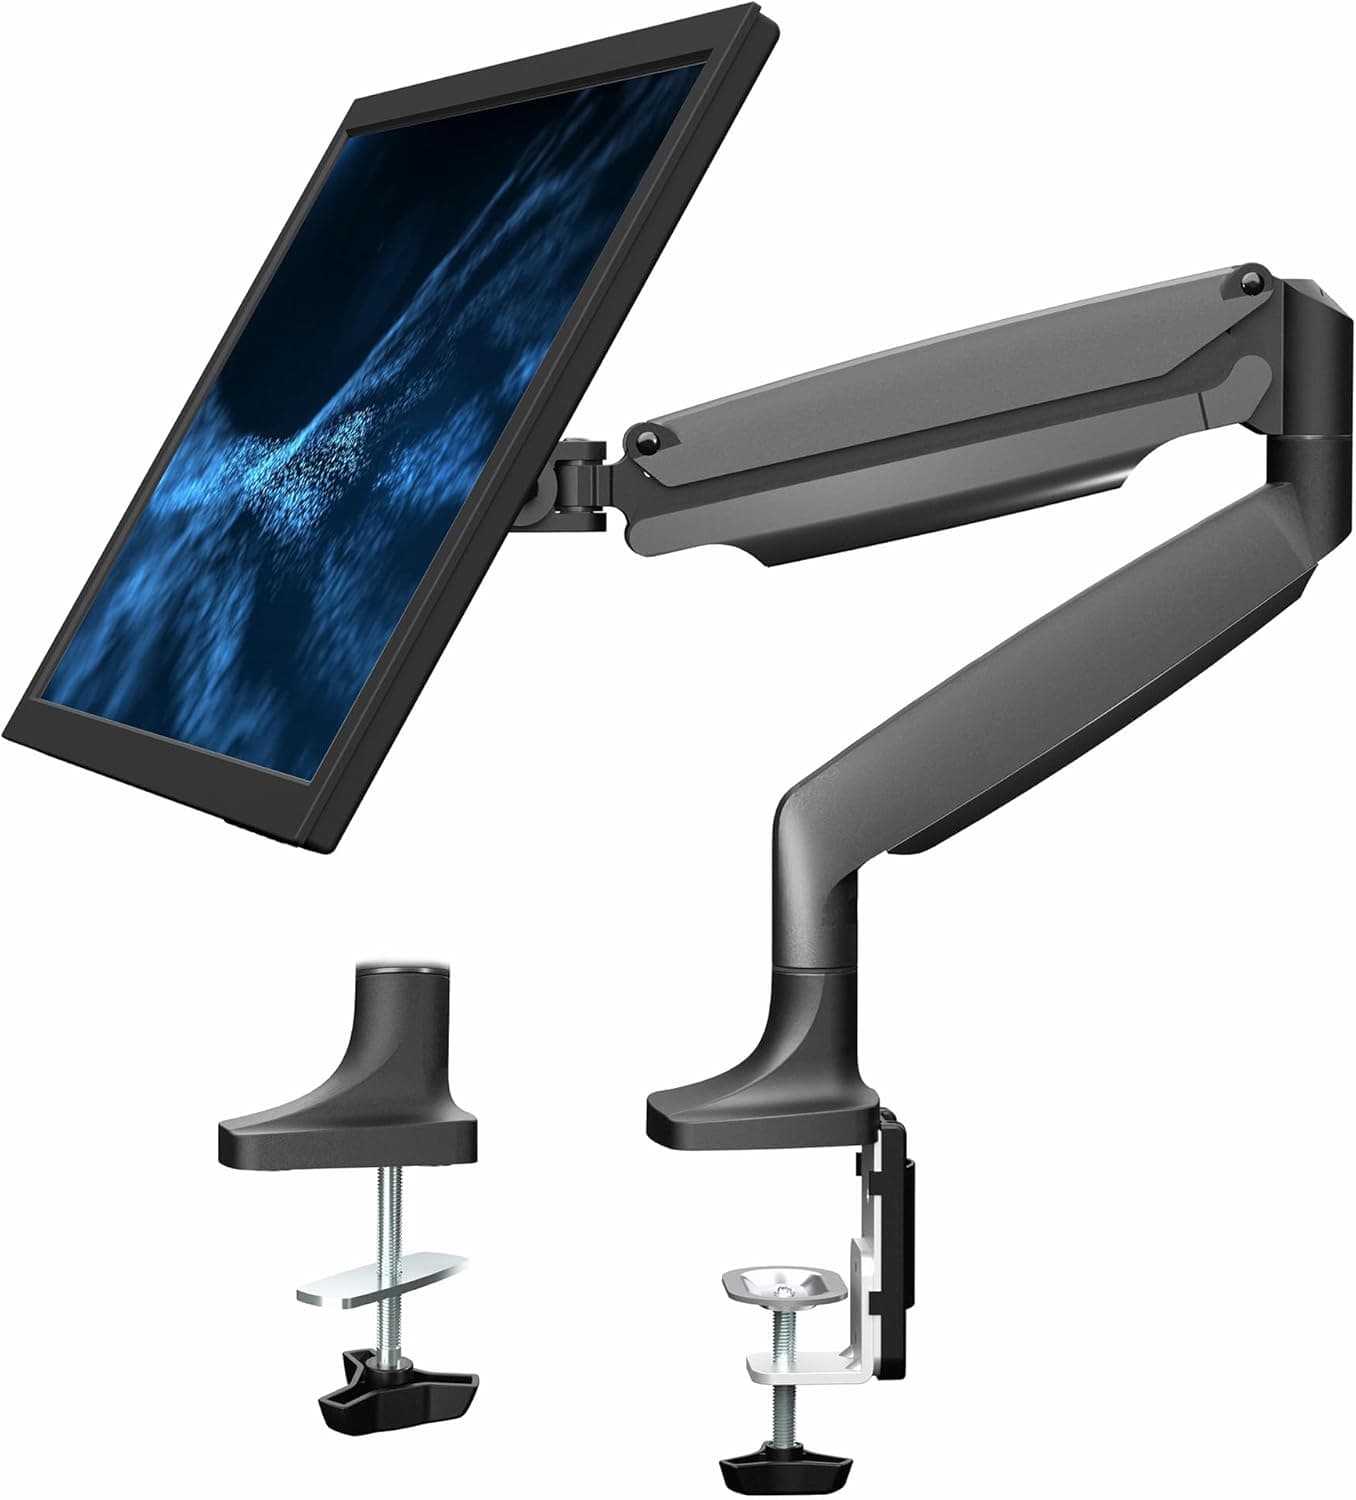 Only after VESA and edge checks
Order an arm only after VESA, weight, and edge thickness are written down — this guide exists to stop buying the arm first.
Best for: Shallow desks that already passed the clamp and VESA checklist.
- +Recovers depth on desks under 24 inches
- +Reversible if the desk later changes
- +Affordable first arm once measurements clear
- −Wastes money if ordered before measuring edge thickness
- −Needs a service loop plan on standing desks
The verdict
Do not shop accessories until usable depth, edge thickness, underside clearance, cable travel, and camera background are written down. Those five numbers prevent more regret than any "best of" list.
FAQ
Do I need a laser measure?+
No. A $5 tape measure is enough. Laser tools help for rooms, not for desk lips and VESA patterns.
What if my desk is a dining table?+
Measure the same way, then read our dining-table vs desk comparison. Many table problems are height and teardown conflict, not missing gadgets.
Should I measure before or after buying a chair?+
Measure the desk first if the desk is fixed. If you are buying both, choose chair height range that matches the desk surface, then confirm knee clearance with both in the room.
Related guides
Keep reading


Published 2026-11-17