Monitor arm vs monitor stand: which one is better for a small desk?
A clear comparison of monitor arms and stands for people who want more space without overcomplicating the setup — plus our top 3 picks.
This is a decision guide first. The comparison table is the core; product examples only illustrate the trade-offs. How we research.
We may earn from qualifying purchases if readers use links from this comparison. Prices are approximate and may change.
Arm or stand for a small desk?
If your desk is shallow (under 24 inches deep) or you eat lunch at the same surface you work on, get a monitor arm. If you want the fastest upgrade with zero installation, get a riser stand.
Most remote workers on a fixed home desk eventually land on an arm — but a riser is the smarter first purchase if you are not sure yet.
Why desk depth matters more than monitor size
A 27-inch monitor on a stand needs both width and depth. On a 20-inch-deep desk, the stand base alone can leave you with almost no room for a keyboard and notebook side by side.
A monitor arm moves the weight to the desk edge or a grommet hole, so the center of your desk stays open. That is the main reason arms dominate small-desk recommendations.
When a monitor stand is the better buy
Stands win when you move furniture often, use a glass or unusually thick desk, or have a monitor without VESA mount holes. They also make sense if you want a drawer or shelf built into the riser.
For a temporary WFH setup — a dining table, shared kitchen desk — a riser is easier to pack up than uninstalling a clamp mount.
Installation checklist before you order
For arms: confirm VESA pattern (usually 75×75 or 100×100 mm), monitor weight, and desk thickness. Most clamps support 0.4–3.3 inches; grommet mounts need a hole between 0.3–2 inches.
For stands: measure your monitor base footprint and make sure the riser platform is wide enough. Check the max height — you want the top of the screen roughly at eye level when seated.
Choose by desk and workflow
Stands that ship with monitors are stable and free. Arms win when you need height, depth, or to reclaim desk area for writing. If you never adjust the display and already sit at eye level, an arm is optional.
Thin desktops need grommet reinforcement or a firm clamp plate. Glass desks often need a specialist clamp or should avoid heavy dual arms entirely.
Ultrawides and heavy Dell 4K panels need arms rated well above the monitor weight including the VESA plate. Under-rated arms droop weeks later.
Renters who move yearly may prefer factory stands plus a separate riser — fewer holes and clamp marks to explain at move-out.
VESA, cables, and cleaning
Confirm 75×75 or 100×100 VESA patterns. Some curved budget monitors omit VESA — check before you buy an arm. Route cables through the arm channel so sitting-to-standing still clears.
Arms make cleaning the desk easier and enable temporary laptop-only mode when you need the surface. Stands keep warranty simplicity and fewer SKUs to match.
Quick-release plates are worth the upgrade if you swap monitors for calibration or travel. Screwing four bolts weekly gets old fast.
Dual-monitor realities
Two independent arms allow uneven heights for laptop + desktop workflows. A dual-arm on one clamp needs a sturdy top and careful weight balancing. Crossbars look clean but limit independent tilt.
If you share a desk with another person, quick-release VESA plates are quality-of-life upgrades during swap days.
Stacked vertical dual monitors save width but punish neck flex unless the top panel is only for chat. Horizontal pairs suit spreadsheet compare work.
Standing desks and dynamic height
Arms with long poles preserve eye level as the desk rises. Short-lift arms may leave the monitor too low at standing height even when seated ergonomics were perfect.
Cable service loops are mandatory on height-adjustable setups. Stands with fixed bases hide that problem — arms expose it immediately.
Budget math that surprises people
A quality single arm can cost as much as a budget 27-inch monitor. If the panel was $180, spending $120 on an arm is rational only if desk space or posture clearly suffers.
Gas-spring arms need occasional tension tweaks as monitor weight changes. Factory stands never need that maintenance.
Return window and clamp damage checks
Install the arm and live with it for ten workdays before the return deadline. Raise and lower a standing desk through the full range, type aggressively, and watch for slow droop that appears only after the gas spring settles. A monitor that sinks two millimeters per week becomes a neck problem by month two.
Clamp marks on soft wood and laminate show up under raking light. Use felt pads, distribute clamp pressure, and photograph the desk surface on day one. Renters returning furniture at lease end do not get credit for “it worked fine for me.”
If the monitor wobbles during mouse flicks but not typing, that may still fail your tolerance on video calls where the image shimmers. Factory stands look clunky but rarely fail silently. Arms win ergonomics when installed correctly — return promptly when the desk top is wrong for clamp geometry.
Apartment sizing for arm reach and depth
On a 20-inch deep desk, a monitor arm that pushes the panel forward may leave the keyboard hanging off the front edge — measure reach at max extension, not just height. Corner apartments with radiators under the window often force desks off-center; an arm with long pole travel fixes height but not sideways placement against a side wall.
Who should keep the factory stand: glass tops without approved clamps, monitors without VESA holes, and shared dining tables that must flatten for meals nightly. A riser block plus the OEM stand survives landlord inspections better than grommet holes you cannot spackle invisibly.
Cable length shrinks when the arm articulates forward. Plan six extra inches on display cables and route through the arm channel before you cut ties. Return-window wobble test: flick the mouse hard and watch a text document on screen — shimmer you tolerate for gaming may fail executive video reviews.
Week-two droop and wobble you will notice
Gas-spring arms feel perfect on install day and then settle. A monitor that held height on Sunday may sink two millimeters per week by the third Monday — enough to push chin-down posture before you consciously notice. Budget arms need tension retune after the first ten days; premium arms still need a check after you add a monitor light bar or swap cables.
Wobble shows up in different workflows. Spreadsheet workers tolerate slight shimmer; video editors and anyone on hour-long standups often cannot. Type aggressively, flick the mouse, and roll your chair — if text wiggles on screen, that is a return signal, not something you adapt to.
Dual-arm setups on particleboard IKEA tops often flex the desktop itself, not just the arm. Felt pads under the clamp help, but a ¾-inch top on a 48-inch span may never feel rock-solid. Center the clamp on a leg rail or add a plywood reinforcement plate under the clamp zone if the manual allows.
Factory stands fail differently: they take footprint and rarely droop, but they steal depth. Week-two regret on stands is usually “I still have no room for my notebook” rather than mechanical failure. Know which pain you are solving before you blame the wrong product category.
First-time arm install sequence
Day one: confirm VESA, weigh the panel with the plate attached, and clamp to the desk without cables. Raise and lower through your full sit-stand range if applicable. Only after the arm holds position should you route HDMI or USB-C through the channel — otherwise you rebuild cable paths twice.
Day two: set seated eye level with the top third of the screen near horizontal gaze. Mark the desk edge position with tape so you can return after cleaning. Tighten clamp screws to spec — overtightening cracks laminate; undertightening lets the arm walk on height changes.
Day three through seven: live with one cable service loop at max desk height. Add clips only after you have stood and sat through real meetings. Permanent zip ties on day one become cut-and-redo work when the first cable runs short.
Who should stop at a riser instead: glass dining tables without grommet options, monitors without VESA, and desks you clear nightly for meals. A $25 riser uninstalls in seconds; a clamp arm on a shared table becomes a nightly negotiation with housemates.
A decision tree you can run in five minutes
Ask three questions before you open Amazon. First: do you need the desk surface for writing, notebooks, or meals at least once a day? If yes, an arm (or a slim riser) is solving space — not novelty. Second: is your desktop glass, particleboard under ¾ inch, or a shared dining top? If yes, default to the factory stand or a freestanding riser unless you have a landlord-safe clamp plan. Third: do you raise a standing desk more than twice a day? If yes, prioritize pole travel and cable loops over aesthetics.
If you answered “no / solid wood or thick laminate / rarely stand,” keep the OEM stand and spend the budget on lighting or chair fit. Arms are not a prestige upgrade; they are a geometry tool. Buying one because a photo looked clean is the most common week-two return reason we see in buyer complaints.
Write your answers down before shopping. Product pages are designed to blur those constraints. A five-minute note that says “48-inch depth, glass top, clear for dinner” will reject half the arm listings instantly — and that is the point.
What “better” means on a real small desk
Better is not a higher Amazon star average. Better is eye level without shrugging, enough depth for a keyboard and a mouse that does not hang off the front edge, and a screen that stays put during typing. On a 48–55 inch apartment desk, reclaiming eight inches of depth often matters more than RGB accent lighting on the arm.
Factory stands win when simplicity and warranty matter more than footprint. Arms win when you share the surface with paper work, meal prep, or a second laptop. Neither wins if your chair height and monitor height are still mismatched after install — fix seat and desk height first.
If you finish this guide and still want both, buy the stand-compatible path first (riser or OEM) and only order an arm after one full workweek proves you need the articulation. Sequential buying beats a stacked return of arm plus mat plus tray in the same box.
Side-by-side comparison
| Feature | Monitor arm | Monitor stand / riser |
|---|---|---|
| Typical price | $35 – $150 | $20 – $60 |
| Desk space saved | High — screen floats above surface | Low — still uses footprint |
| Setup time | 15 – 30 minutes | Under 2 minutes |
| Height adjustment | Full range + tilt/swivel | Fixed or 1–2 preset heights |
| VESA required | Yes (75×75 or 100×100) | No — monitor sits on platform |
| Works on glass desks | Only with grommet mount | Yes |
| Best if you… | Have a shallow or cluttered desk | Want simplicity and storage under the screen |
Examples that fit the comparison
These products illustrate the criteria above — they are not a mandatory shopping list. Skip any pick that fails your desk depth, budget, noise limits, or return logistics.
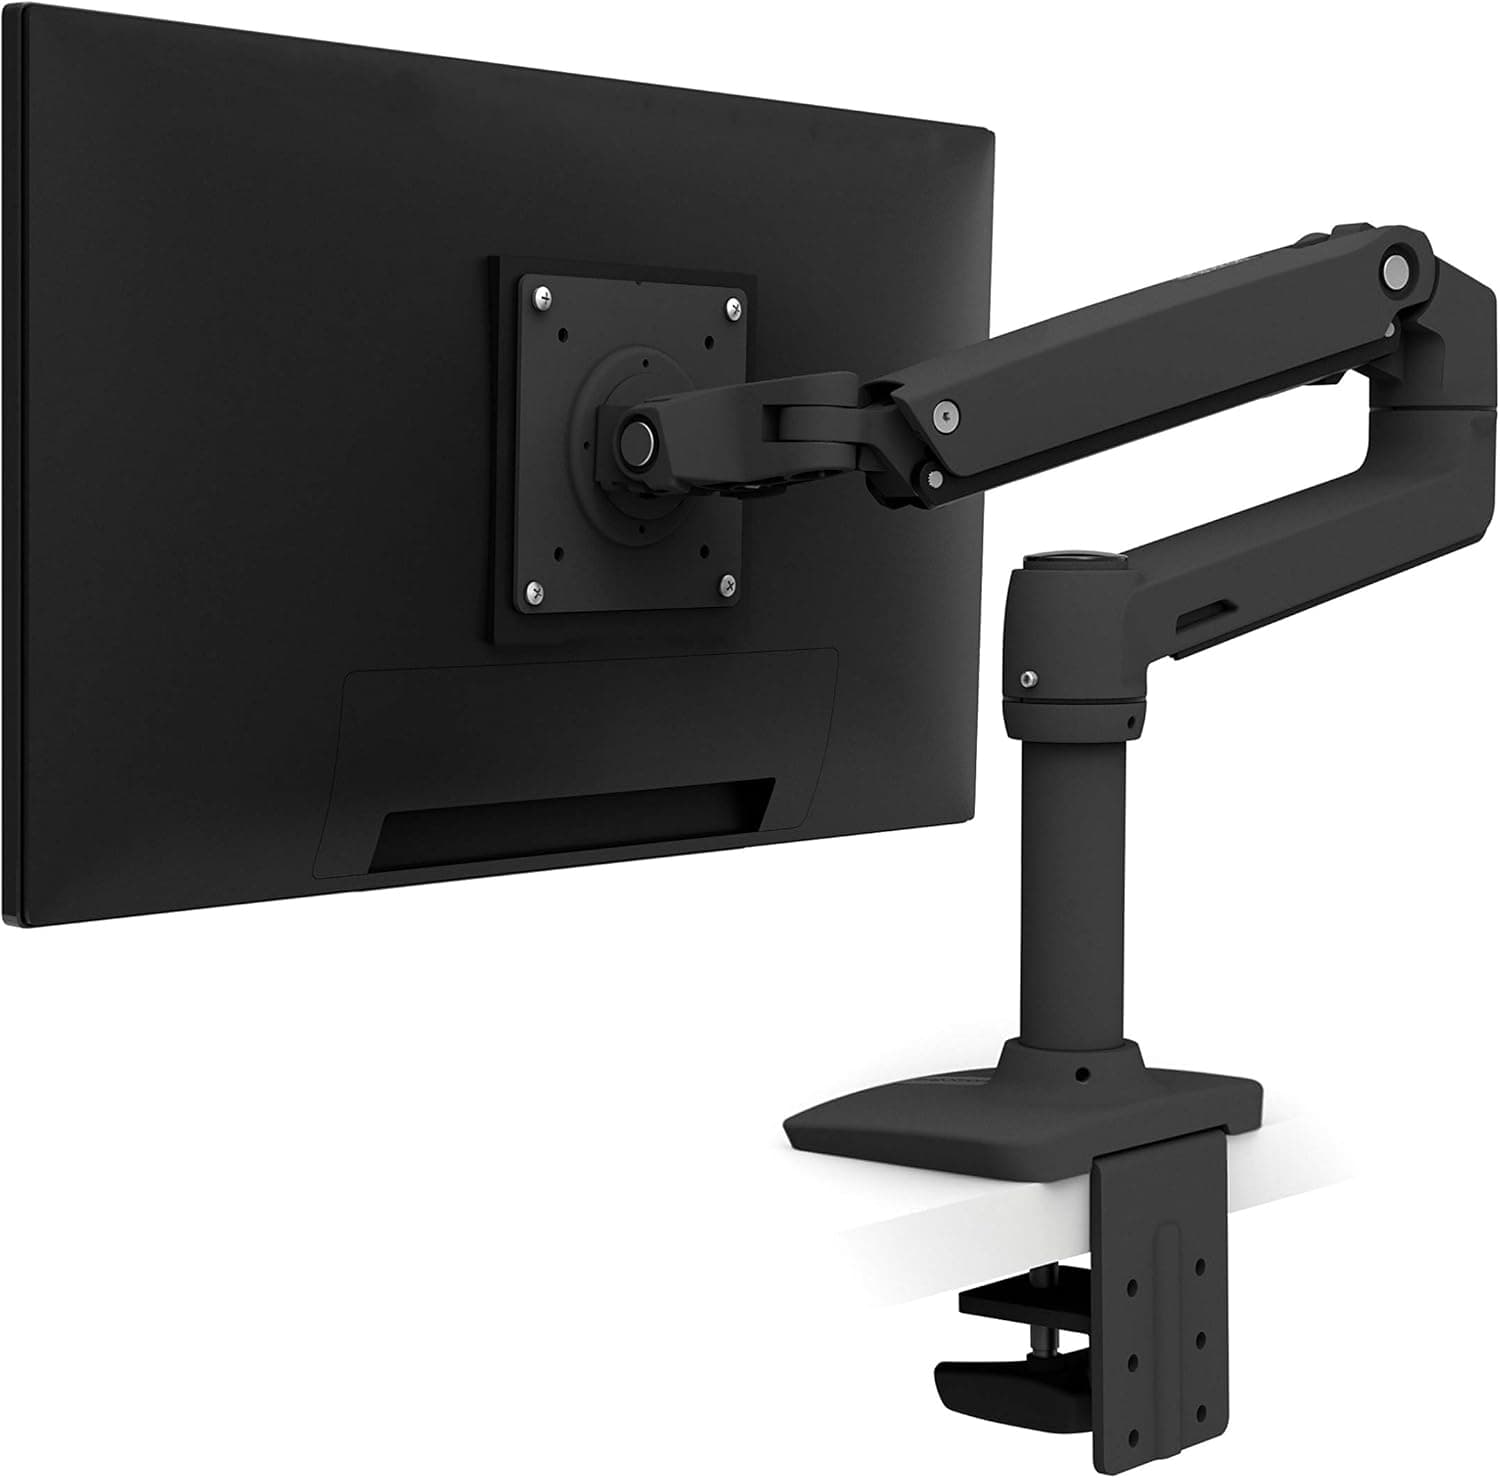
Best overallThe benchmark single monitor arm — smooth movement, excellent build quality, and reliable VESA compatibility for most 24–32″ screens.
Best for: Remote workers who want a long-term setup on a permanent desk.
- +Rock-solid once installed correctly
- +10+ years of height and angle adjustment
- +Clears almost all desk space below the screen
- −Premium price
- −Overkill if you move desks often
 Easiest setup
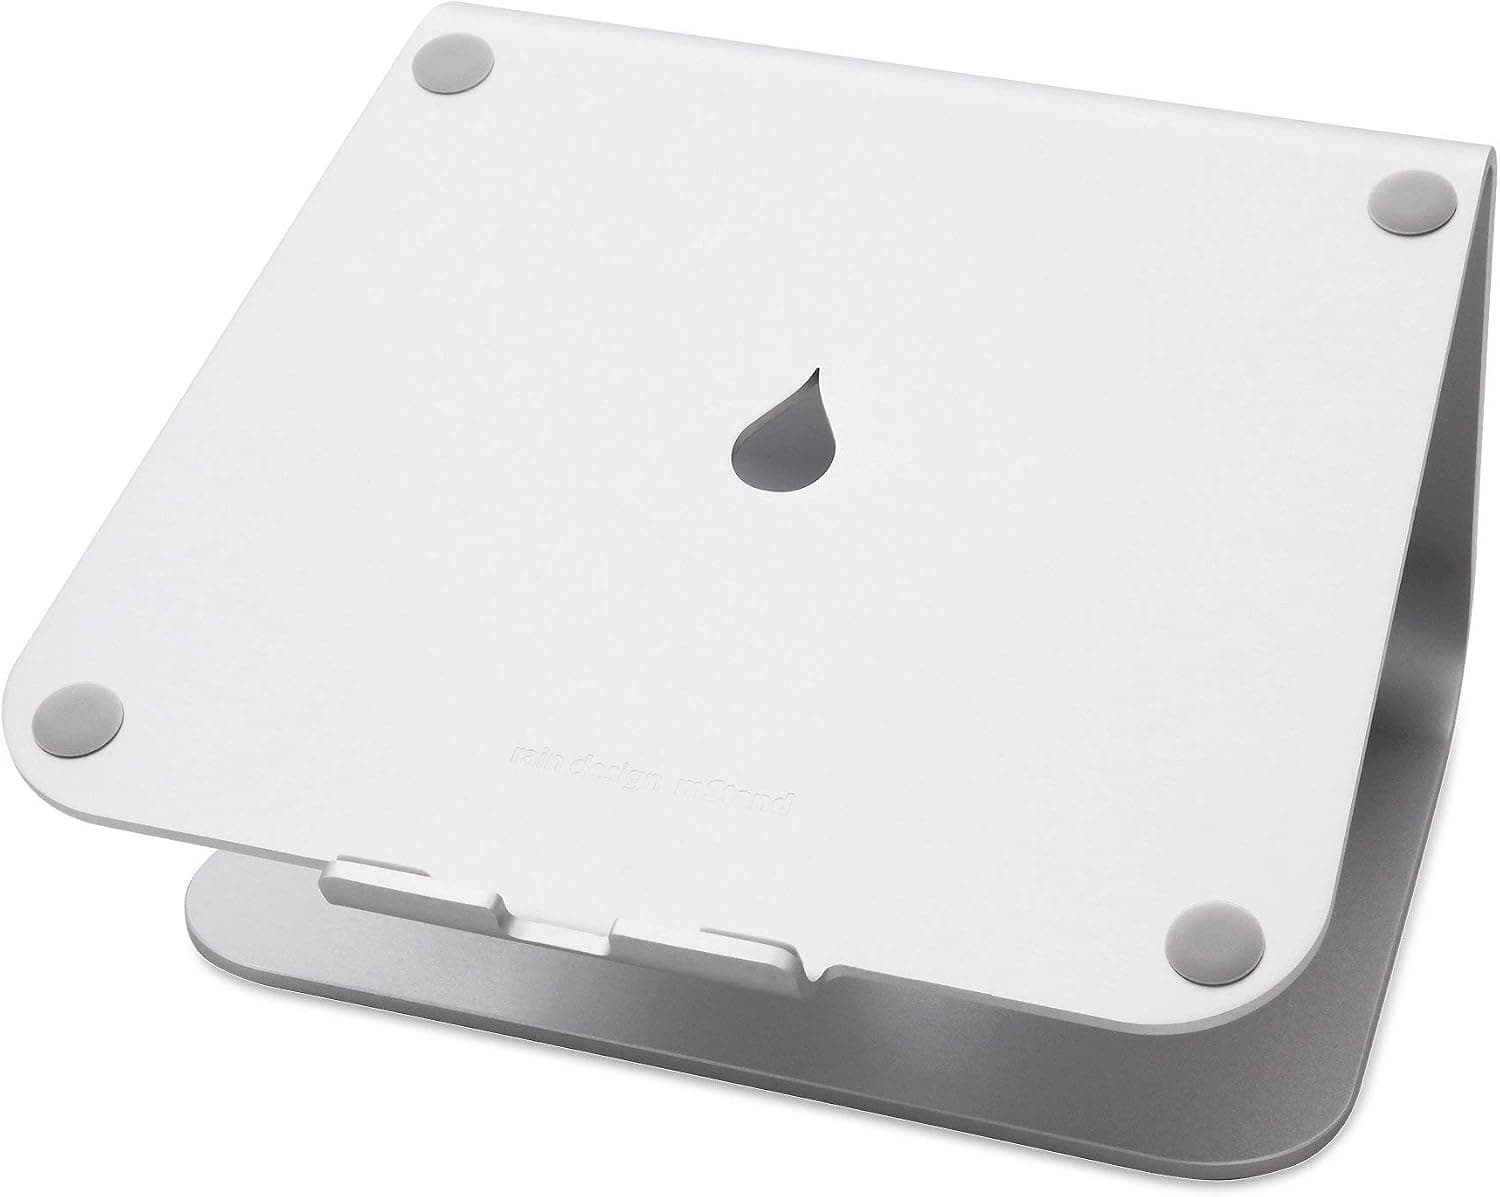
A no-tools riser that lifts your monitor and adds storage underneath — the fastest way to improve posture on a budget.
Best for: Renters, hot-deskers, and anyone who wants zero installation hassle.
- +Ready in minutes, no clamp or drill
- +Built-in drawer for pens, cables, and small items
- +Works with any monitor that has a flat base
- −Does not save as much depth as an arm
- −Limited height range compared to gas springs
 Best value
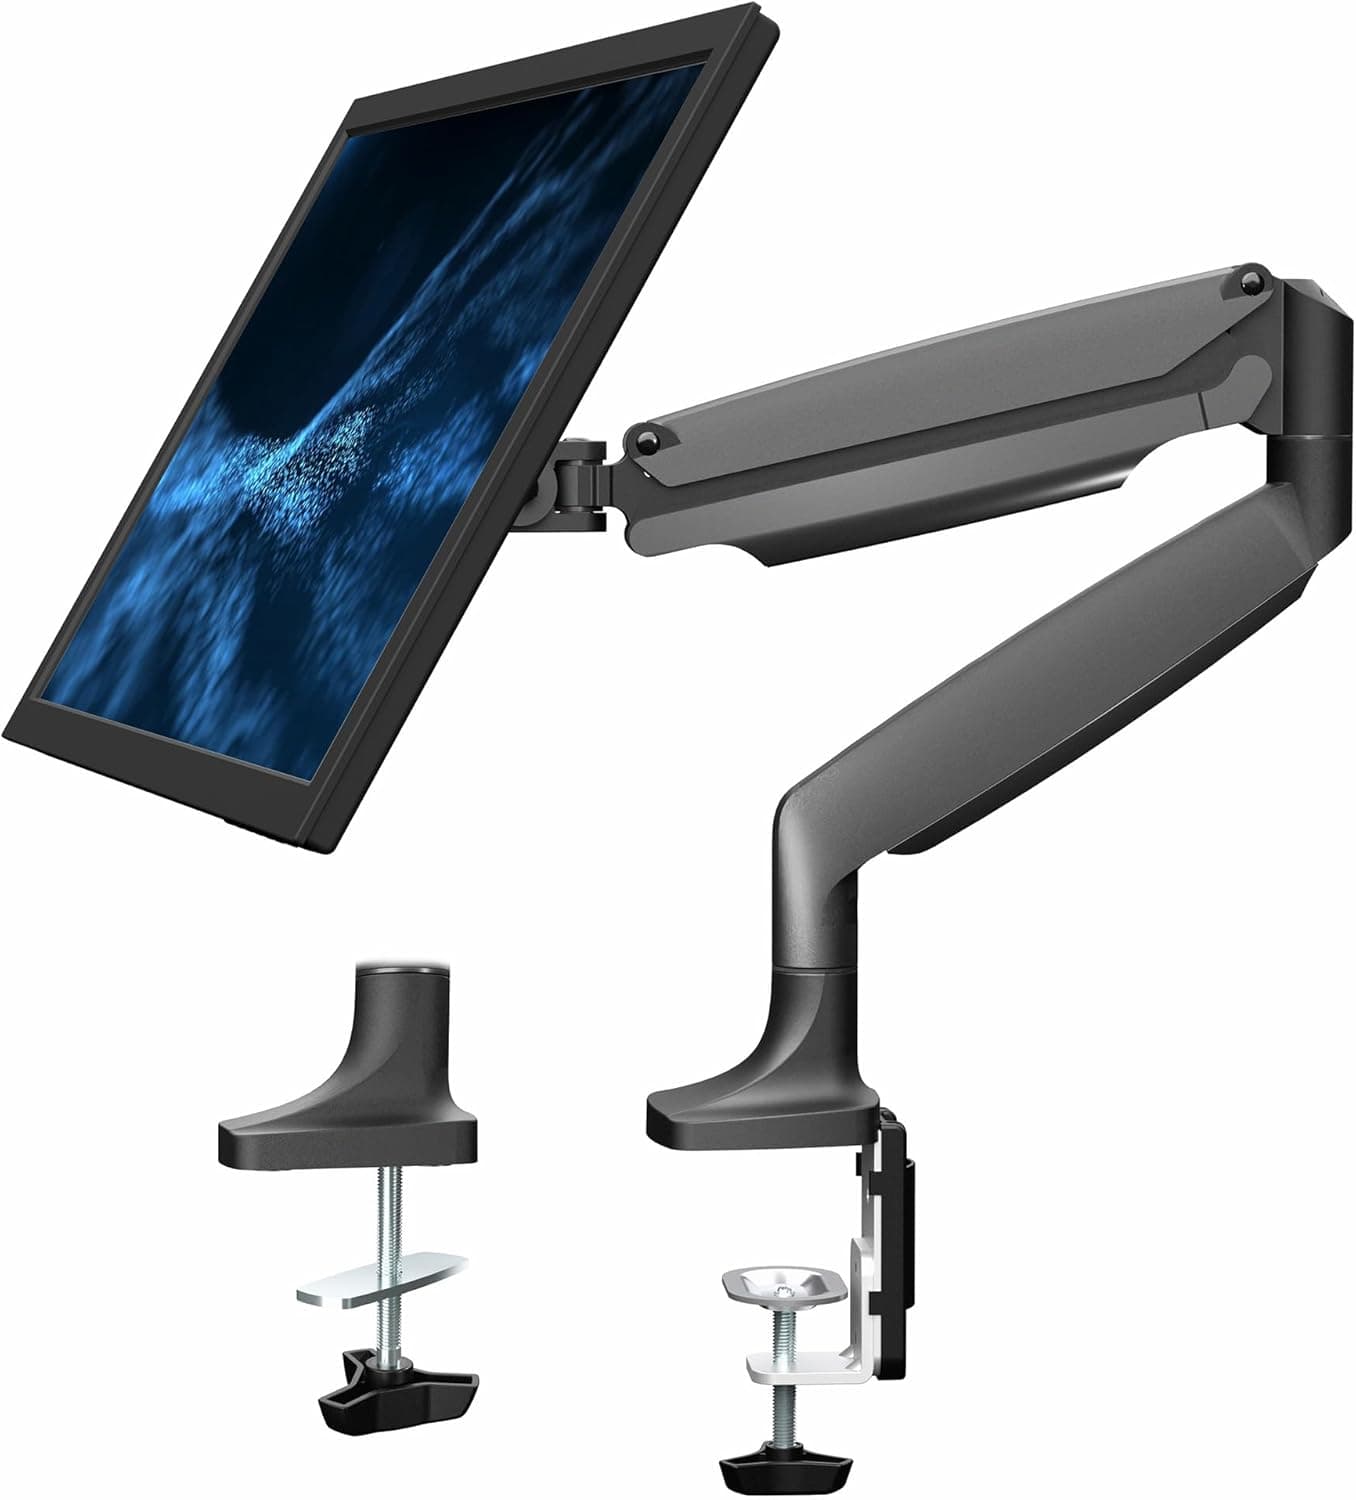
A popular budget gas spring arm that delivers 90% of the Ergotron experience at a fraction of the cost — great for first-time arm buyers.
Best for: Testing whether a monitor arm fits your workflow before spending more.
- +Affordable entry into monitor arms
- +Integrated cable clips along the arm
- +Supports most monitors up to 32″ / 22 lbs
- −Can wobble slightly on thin desk tops
- −Adjustment tension may need occasional tuning
The verdict
For most small-desk remote workers, the VIVO gas spring arm is the best starting point — affordable, space-saving, and reversible. Upgrade to the Ergotron if you know the desk is permanent. Choose the riser if you need something today with zero tools.
Advertisement
Ad placement activates after cookie consent.
FAQ
Will a monitor arm work with any monitor?+
Only if the monitor has VESA mount holes on the back and weighs within the arm's rated limit. Many iMacs and ultra-budget monitors lack VESA — check before ordering.
Can I use a monitor arm on a standing desk?+
Yes, but prefer arms with a wide clamp or grommet mount for stability. When the desk moves up and down, cheap arms may drift unless the tension is set correctly.
Is a riser enough for ergonomics?+
A riser raises the screen, which helps neck posture. For full ergonomics, pair it with an external keyboard and mouse so your elbows stay at roughly 90 degrees.
Related guides
Keep reading
Published 2026-07-02 · Updated 2026-08-09